Conditional Rendering in LWC
While developing Lightning Web Components, there are many situations where you need to show or hide certain parts of the UI dynamically based on data or user actions. This technique is known as Conditional Rendering in LWC.
For example, you might want to display a success message only after a record is saved or show a spinner while data is being fetched from apex.
Note: After Spring’23 release, use of legacy if:true and if:false are not recommended. Salesforce recommend using lwc:if, lwc:elseif and lwc:else directives.
What are directives in LWC?
Directives are special HTML attributes that let you control the behavior of DOM elements dynamically. They tell LWC framework how to render or handle a specific portion of the template. Please note we can use directive with template tag only.
Some of the common types of directives are as follows:
-
lwc:if,lwc:elseifandlwc:elseused for conditional rendering for:eachanditeratorare for template looping.
Conditional Rendering in LWC using lwc:if, lwc:elseif and lwc:else
Syntax
<template>
    <template lwc:if={condition1}> Statement1 </template>
    <template lwc:elseif={condition2}> Statement2 </template>
    <template lwc:else> Statement3 </template>
</template>
Please note following points while using lwc:if, lwc:elseif and lwc:else directives for conditional rendering:
lwc:elseifandlwc:elseare optional.- if
condition1evaluate as true then other conditions won’t execute. lwc:elseifandlwc:elsemust be immediately preceded bylwc:iforlwc:elseif(in case of multiple elseif conditions)- We can’t use ternary expressions and any other complex expressions inside expression. Use getters for it.
Example 1: Using lwc:if directive
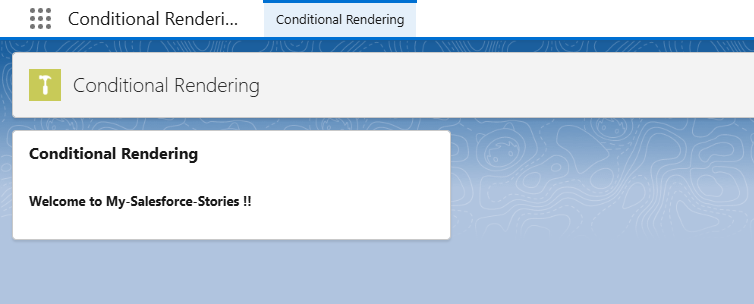
Let’s display Welcome message whenever user lands on a page. In the following example we are using Boolean property show to display welcome message after 5 seconds.
<template>
    <lightning-card title="Conditional Rendering">
        <div class="slds-p-around_medium">
            <template lwc:if={show}>
                <b> Welcome to My-Salesforce-Stories !!</b>
            </template>
        </div>
    </lightning-card>
</template>
import { LightningElement } from 'lwc';
export default class ConditionalRendering extends LightningElement {
    show = false;
    connectedCallback() {
        setTimeout(() => {
            this.show = true;
        },5000);
    }
}
Output
Example 2: Toggling Content Dynamically
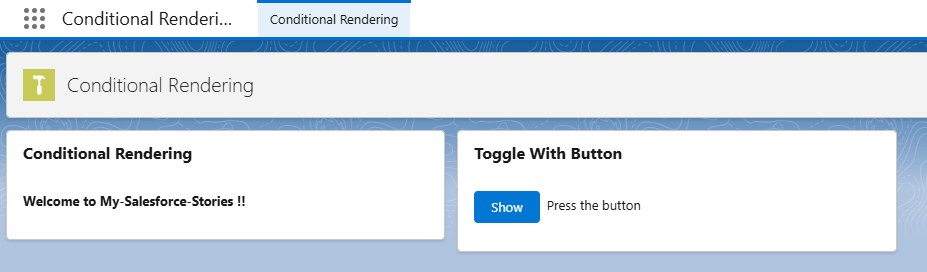
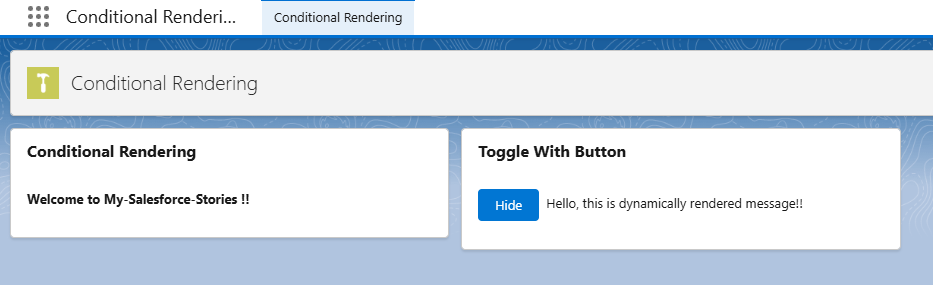
Now let’s make it more interactive by adding button. Onclick of button message will be visible.
<template>
<lightning-card title="Toggle With Button">
<div class="slds-p-around_medium">
<lightning-button
variant="brand"
label={name}
onclick={handleClick}></lightning-button>
<template lwc:if={show}>
Hello, this is dynamically rendered message!!
</template>
<template lwc:else>
Press the button
</template>
</div>
</lightning-card>
</template>
import { LightningElement } from 'lwc';
export default class TogglingWithButton extends LightningElement {
    name = "Show";
    show = false;

    handleClick(){
        this.show = !this.show;
        this.name = this.show ? "Hide" : "Show";
    }
}
In this example, clicking the button toggles the value of show property, which controls the message on screen as well as label of button.
Output
Example 3: Using lwc:elseif directive
In this example, we will display the message on basis of city.
 <template>
    <lightning-card title="Else If Example">
        <div class="slds-p-around_medium">
            <lightning-input label="Enter your City" onchange={onChangeHandler}></lightning-input>
            </br>
            <template lwc:if={isCityTokyo}> I live in Tokyo </template>
            <template lwc:elseif={isCityNewYork}> I live in New York </template>
            <template lwc:elseif={isCityMumbai}> I live in Mumbai </template>
            <template lwc:else> Please enter correct city </template>
        </div>
    </lightning-card>
</template>
import { LightningElement } from 'lwc';
export default class ElseIfExample extends LightningElement {
    city;
    onChangeHandler(event){
        this.city = event.target.value;
    }
    get isCityTokyo(){
        return this.city === "Tokyo";
    }
    get isCityNewYork(){
        return this.city === "New York";
    }
    get isCityMumbai(){
        return this.city === "Mumbai";
    }
}
when user will enter name of city in textbox. we are assigning the value to city property through onchange handler. We created getters for each city and directly referring them in HTML template.
Output

Conditional Rendering in LWC is a must learn concept. It helps you to create dynamic and user-friendly Salesforce applications. By using directives like lwc:if , lwc:elseif and lwc:else. It makes your component interactive, responsive and efficient.
